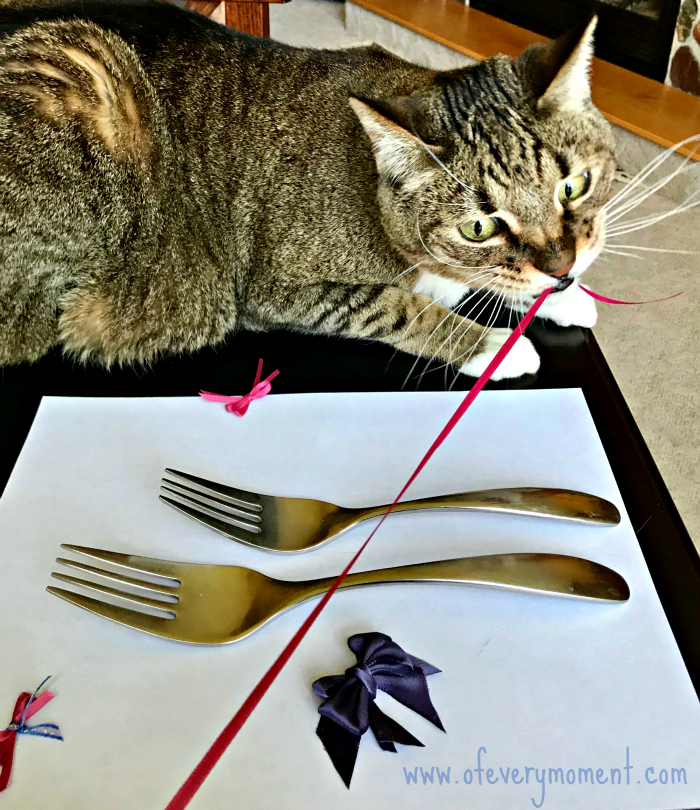
It really works! These bows are perfect, especially if you don't have a pre-made bow on hand, or prefer to save a few pennies and make your own. While making my bows, I did have a little help. Our cat is always up to any task involving ribbons!
 |
| My feline assistant |
Did you know that you can make a tiny ribbon bow using a fork?
When my daughter was little, I liked to sew dresses for her and sometimes I made matching hairbows for her, too. Creating tiny little bows to glue on barrettes was always a challenge for me though - somehow they just never tied quite right. I wish I had known about the method in this video back then!
While this video by Handimania.com is really helpful and well worth watching, I drafted a set of written instructions for those of you who learn better that way. Here it is, and be sure to take note of my tips for success, below.
How to Make a Ribbon Bow on a Fork
Supplies needed:
1 fork with 4 tines.
1 pair of scissors
2 ribbons, (one about 5 inches and the other about 16 inches.) See notes below.
Step-By-Step Written Instructions:
- Start by holding the long ribbon on left side of the fork, near the bottom of the tines.
- Thread the ribbon under the first tine on left and weave right: first under, then over -under - over the 4 tines.
- Bring the ribbon around the back of outside right tine, weave left, under - over -under - over tines.
- Repeat steps #2 and #3 two more times.
- Repeat step #2 again, ending up with five layers on the fork.

- Slide all 5 layers together so they are touching and up towards the middle of the fork tines.
- From behind the fork, thread one end of the short ribbon through the middle open slat of fork tines, below the woven ribbon.
- While still holding the other end of the short ribbon behind the fork, thread it through the middle open slat of the tines, above the woven ribbon.
- Tie the ends of short ribbon loosely together.

- Unthread the top first layer of the long ribbon from all tines except the far left tine, and keeping it underneath the short ribbon, gently direct it down from behind the first left tine towards outside bottom of the far-right tine. (Forming an upside down V shape with the other end of the long ribbon.
- Carefully pull the ends of short ribbon and knot snuggly together. (You may need to tug on the ends of the long ribbon a little to get it right.)
- Turn fork over, slide ribbons off.
- Cut the ends of the ribbon to your the desired length.
- Voila. You just made a tiny bow!
Some Tips for Success:
- It is fine to use all one color or contrasting ribbons of different colors to make the bow. It is usually best to use ribbons that are the same weight/type of fabric and that do not have an apparent "right and wrong" side. Thin ribbons work best, unless using a large fork. Silk, chiffon or even curling ribbons are good options.

- If you are using a larger ribbon, use a larger fork.

- Be gentle when handling the bow. If you squish the loops, you can use a fork tine to tease them back into shape.
- Cut the ribbon ends on a diagonal, to prevent unraveling.
- Remember that practice makes perfect! My fourth bow (purple and green) was definitely better than my first (the pink and blue one)!
- Here's one way you can attach your new bow to a package:
- Cut some of the same kind of ribbon you used for the shorter piece to make the bow, to whatever size will fit your package.
- Center this piece of ribbon over the middle of the bow, and knot it to the bow from behind.
- Use this length of ribbon to wrap around the package with the bow placed where you want it. Tie securely underneath the package.
Have you ever used a fork to make a bow? Do you have another favorite method?
Note: This blog post contains affiliate links. If you click on one and then make a purchase, I may receive a form of compensation. I only recommend products I believe in.


Clever. I am always awed at people who think of these things.
ReplyDelete